
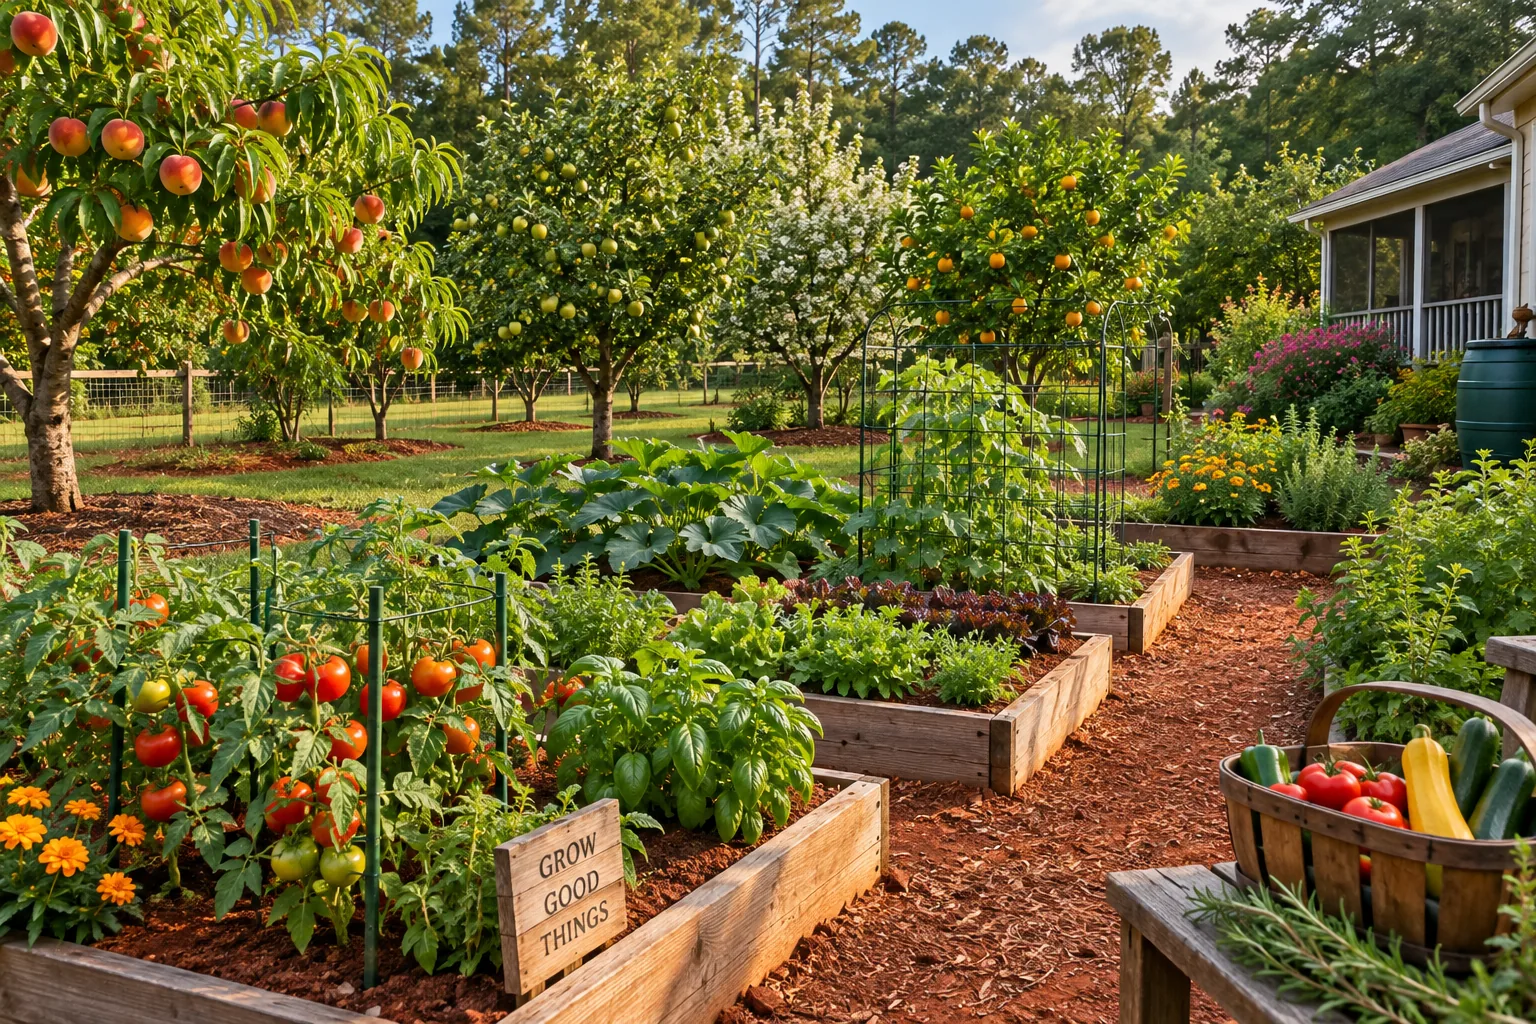
Installing Drip Irrigation
Drip irrigation delivers water directly to the root zone.
It is one of the best ways to water efficiently during Alabama summer.
Basic Parts
A small system may include:
- Faucet connection
- Backflow preventer
- Filter
- Pressure regulator
- Mainline tubing
- Dripline
- Emitters
- Connectors
- End caps
- Timer
Step 1: Map the Garden
Draw:
- Water source
- Beds
- Rows
- Trees
- Containers
Plan the shortest practical tubing route.
Step 2: Connect the Head Assembly
Install components according to manufacturer instructions.
A filter and pressure regulator help protect emitters.
Step 3: Lay Mainline
Run main tubing along bed edges or paths.
Avoid areas where it will be damaged.
Step 4: Add Dripline
Place dripline through beds or along rows.
Step 5: Secure the Line
Use stakes.
Step 6: Flush Before Closing
Run water through open lines to remove debris.
Then install end caps.
Step 7: Test Coverage
Check the soil after running the system.
Look for:
- Dry gaps
- Leaks
- Clogged emitters
Step 8: Add a Timer
Use a timer for consistency.
Adjust it with weather rather than leaving one schedule all season.
GardenGrowz Tip
Drip irrigation should make watering easier—not invisible.
Check the system regularly.